No products in the cart.
Fun Facts
Conquer Campfire Cooking: Craft Your Own Tripod for Culinary Adventures
 Conquer Campfire Cooking: Craft Your Own Tripod for Culinary Adventures
Ah, the campfire. A centerpiece of any camping trip, it beckons with warmth, flickering light, and the promise of delicious, fire-cooked meals. But let’s be honest, campfire cooking can be a bit of a gamble. Balancing your precious pot over flickering flames can feel precarious, and who wants to spend their relaxation time wrestling with a wobbly contraption?
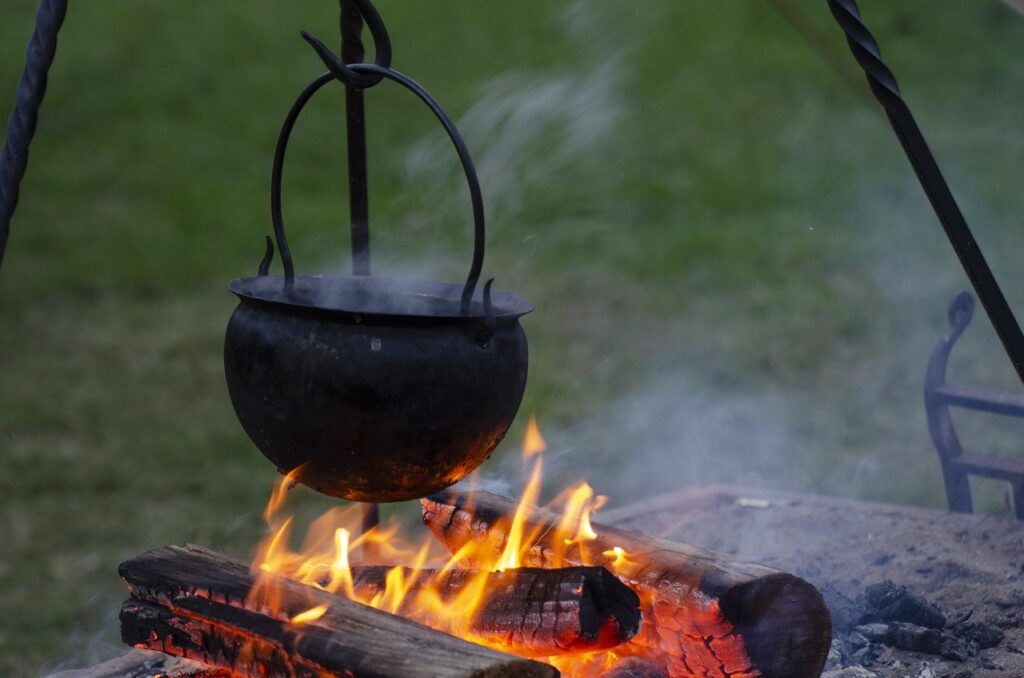
Fear not, fellow outdoor chefs! The solution lies in a simple yet powerful tool: the DIY campfire cooking tripod. This trusty companion will elevate your camp kitchen game, literally and figuratively. No more precariously balanced pots or uneven cooking. With a tripod, you can simmer, stew, and fry with confidence, ensuring perfectly cooked camp meals that will have your fellow adventurers singing your praises.
The Magic of the Tripod
The beauty of the tripod lies in its inherent stability. Three sturdy legs spread the weight of your pot evenly, reducing the risk of tipping and spills. This not only keeps your food safe but also ensures a more consistent cooking experience. No more hot spots or unevenly heated dishes – just perfectly cooked camp fare every time.
Beyond stability, a tripod allows for easy adjustment of your pot’s height above the fire. Need to bring your stew to a rapid boil? Simply raise the pot. Want to simmer a delicate sauce? Lower it a notch. This level of control allows you to replicate your favorite kitchen recipes over an open flame, opening up a world of culinary possibilities on your camping trip.
Building Your Base Camp Kitchen: Choosing Your Materials
Crafting your own tripod is a surprisingly simple project, perfect for even novice DIY enthusiasts. The beauty lies in its customizability. Choose materials that suit your budget, skill level, and desired weight for backpacking. Here are some popular options:
- Heavy-Duty Metal: For a sturdy, long-lasting tripod, galvanized steel pipes or rebar are excellent choices. They can handle heavy Dutch ovens and provide a rock-solid cooking platform. However, these materials can be heavy, making them less ideal for backpacking trips.
- Wood: A great option for those who prefer a natural aesthetic. Hardwoods like oak or maple offer good strength, while lighter woods like pine can be used for a more portable tripod. Keep in mind that wood requires proper seasoning to prevent warping and ensure long life.
- PVC Pipe: This lightweight and inexpensive option is perfect for backpackers or those looking for a quick and easy build. While not the strongest material, it can be surprisingly sturdy for lighter pots and camp cookware.
Pro Tip: When choosing metal pipes or rebar, look for pre-cut lengths at your local hardware store to save time and effort.
The Tripod Takes Shape: Putting it All Together
The basic design of a campfire cooking tripod is fairly straightforward. Here’s what you’ll need to get started:
- Three poles of your chosen material: Cut to a desired length. For most campfire setups, a height of 4-5 feet is ideal.
- Heavy-duty rope or cable: This will be used to secure the legs of the tripod together at the top.
- Chain or strong metal wire: Used to suspend your pot over the fire.
- S-hook or carabiner: Connects the chain to your pot.
- Drill and drill bits (for metal or wood, depending on your chosen material): Needed to create holes for the rope at the top of the tripod legs and for attaching the chain.
Here’s a step-by-step guide to constructing your tripod:
- Prepare your poles: Ensure your chosen poles are cut to your desired length and free of any splinters (if using wood). If using metal, you may want to grind or file any sharp edges for safety.
- Drill the holes: At the top of each pole, drill a hole large enough to comfortably fit your rope. For added stability, you can also drill a hole a few inches down from the top of each pole, allowing you to create a lashing with the rope for extra security.
- Assemble the tripod legs: Thread the rope through the holes at the top of each pole. There are different ways to tie the rope to create a secure joint. A simple but effective method is to tie a taut tripper knot, ensuring all three branches are evenly spaced for stability. You can find video tutorials online to demonstrate this knot-tying technique.
- Attach the chain: Drill a hole near the top of one of the tripod legs (or use one of the additional holes you drilled earlier if using metal). Attach the chain to this hole using a secure knot or carabiner.


